How To Grow Your Pinterest Account & Blog Traffic
Whenever somebody asks me what advice I would give to new bloggers, I always say that they should get started with Pinterest! I haven’t come across a better platform to promote your blog, grow your traffic and attract your target audience that requires so little effort as Pinterest.
The truth is that once you set everything up, you can let it run on autopilot, but getting started with your account can be confusing. So here is a guide for new bloggers that want to know how to get started with Pinterest.
💎 MORE PINTEREST TIPS YOU MIGHT WANT TO READ
- 8 ways to improve your Pinterest game
- How I made my first affiliate sale with Pinterest
- How I use Tailwind to leverage the power of Pinterest
- Why Your Pins Aren’t Getting Clicks & Saves (And How To Fix It)
- How To Make Pinterest Pins Fast: Using Tailwind Create
Before I get into it, in the name of full transparency, please note that this post contains affiliate links and any purchase made through such links will result in a small commission for me (at no extra cost for you).
How Can You Promote Your Blog On Pinterest?
If you are a total Pinterest newbie you must be wondering how a social media platform based solely on pictures can bring traffic to your written text blog posts. I was using Pinterest as a collection of personal ideas for so long that I had no idea of the impact it can have on my blog growth.
What you need to know is that every single pictured that is pinned to Pinterest, leads back to the website where it was pinned from, be that a blog, and online shop or anything in-between.
How many times have you researched ideas for your next dinner for example, and clicked on the most appetizing pictures to find the recipe?
It works exactly like that! But more than a social media platform and a collection of personal bookmarks, Pinterest is a search engine. That means that if you add relevant and keyword-rich descriptions to your pins and your profile, they are more likely to be found when someone else goes on Pinterest to look for ideas.
Even Google recognizes Pinterest as a search engine. Have you ever googled something and had “Best 100+ XYZ ideas on Pinterest” pop up on the first page, only to be lead to a Pinterest search of what you were looking for?
So the process is quite simple: you create an account, you optimize it to be found easier by those who are interested in your content, you create your own pins and direct them to your blog posts and you keep being active on the platform.
How To Get Started On Pinterest?
I will go through each step in as much detail as I possibly can, but there is only so much I can fit into a blog post. If you know what an invaluable tool Pinterest can be for your blog or business and you don’t want to spend months shooting in the dark as I did in the beginning, I highly recommend taking a Pinterest course or investing in a Pinterest guide.
I break down everything for creating an account, setting up your boards, selecting board covers, designing Pinterest graphics and creating a pinning schedule in my extensive Pinterest guide ebook.
New to Pinterest? Get a step-by-step guide on how to create a traffic-worthy Pinterest profile, grow your account and generate daily traffic to your blogs with Pinterest.
Included with your eBook purchase:
- An instant PDF download of 100+ pages
- Free Canva pin templates
- Free video masterclasses
Ready to get started? Here are the first 5 steps you need to make to create your account and master your Pinterest strategy:
💎 STEP 1: Create and set up your account
Step 1 is pretty straight forward. Simply go to www.Pinterest.com, create an account or log in with your existing Google or Facebook accounts. Make sure you note down your account details in case you will need them later.
Now all you have to do is insert your details (you can do so in “Settings”) such as: name, website and account description.
PRO TIP: Add keywords to your account. Instead of listing your name or your blog title as the account name, try following it up with a specific keyword. For example, my name is set up as “Ana – Blogging Tips & Growth Strategies For New Bloggers” and I make sure to follow up with keywords such as “blogging tips” in my bio.

EXAMPLES: If you’re a fashion blogger your name on Pinterest can be “NAME – Fashion Blogger & Style Guru”. If you blog about dog training you can have your name set up as “BLOG NAME – Dog Training Tips” and so on.
WHY: Not only does this help you get found and gives Pinterest a better idea of what you’re all about so they can recommend your account and your boards to other people, but strangers who happen to come across your account don’t have to spend hours determining what you pin about and if they should follow you. So you improve your chances of being found by the right people.
💎 STEP 2: Get a business account and enable rich pins
This step is vital to giving your account and your pins a better chance to thrive in a sea of existing and countless pins. Switching to a business account (which you can do even if you technically don’t own or run a business) also allows you access to statistics and insights about your account that are going to be vital down the line.
Read up on how to switch to a Pinterest business account here.
The next part of this step is to confirm your website. In the first step, you were asked to insert your website into your profile details. While that shows up publicly on your account (and might even send blog traffic your way from people that found you and loved what you pin), Pinterest needs to know that you actually own the account for them to give you sensitive details about it.
Pinterest already has a tutorial on this that I recommend checking out below to make sure you do this right (including specific instructions for different type of blogs).
Read on how to confirm your website here or confirm your website with the YOAST plugin.
The last part, but one of the most important ones, is to enable rich pins. To do so, you have to apply for them after you have confirmed your website. Pinterest usually approves everyone in a very timely manner (they can be approved right away or you might have to wait a few days).

WHY: Rich pins stand up in any Pinterest feed because it pulls the title from your blog post and showcases it in bold. As you can see above, I have rich pins enabled while the other 2 pins don’t. As a consequence, only a small bio of their pin appears underneath.
Read on how to enable rich pins for your website here.
💎 STEP 3: Create and curate your boards
Now that your account is all set up, it’s time to start pinning! You can do so by creating as many boards as you want. I recommend starting with around 10 boards that are relevant to your account and your audience.
EXAMPLE: My blog is all about online marketing, blogging and social media so I created boards around those topics or other topics that my audience would be interested in. For example, I don’t blog about interior design but I do have a “Home Office Inspiration” board because I know that people who read my blog do a lot of work from their home offices. I keep all other boards (such as “Dog Tips” or other personal ones) secret to keep my account clean and to make sure that people know why they are following me.
You can start by pinning at least 10-20 pins in each board (you will add more later, but that is good place to start and to complete your account) and setting a cover image for each board.
Some people like to create their own cover boards (like I did with the first one) and have them all look exactly the same and just add a text overlay with the name of the board, opting for a very branded account look. I went with a theme and a color scheme instead of that to keep my boards looking consistent.

PRO TIP: Your Pinterest account should represent you, our blog and what do you. That’s why it’s very important to choose boards that have a relevant topic to what you blog about. But more importantly, your account should lead people to your content. You can assure that happens by creating an anchor board (or more).
Your anchor board is a board where you only pin your own content and they all lead people to your blog posts, website or landing pages. (I suggest creating this even if you haven’t created your own pins to go in it yet. We will work on that in the next step.) You should name it something obvious such as “Best of BLOG NAME” so people know that you pin your own content in there.

If you blog about 3 main topics and have a lot of content, I would suggest having 3 anchor boards. For example: “BLOG NAME – Topic 1”, “BLOG NAME – Topic 2” and “BLOG NAME – Topic 3”. This way people can easily browse through your content based on their own interests.
Before you move onto pinning content into your newly created boards, make sure you don’t forget to add a description for each and use that space to insert some keywords, because as I said, Pinterest is a search engine and it needs to know that you pin about what other people are searching (and they can’t read images).
Try using the keywords in a sentence such as “Blogging tips for new bloggers looking to grow their blogs” rather than listing them one after the other “blogging tips, new bloggers, grow your blog” (also known as keyword stuffing).
PRO TIP 2: After you have created your own boards, find and join at least 5-10 group boards with a consistent number of followers (if your account is new, even a group board with 500 followers is worth joining). Be sure they are relevant to what you blog about because you will want to start adding your own pins there.
💎 STEP 4: Create your own pins
Now that you have your account all set up, all you’re missing is a collection of pins that lead back to your blog post. Even if you have no design skills, there are ways to create your own pins and templates with ease.
SPECIAL OFFER: My Pinterest eBook comes with 15 free pin templates!
I recommend using Canva (check out their pre-made Pinterest templates here) when creating your own pins. It’s free to use and offer a selection of templates that you can add your own spin to.

I create between 2 and 4 graphics for every blog post, add one to the actual post (so that my blog readers can share or bookmark the post on their own Pinterest profiles) and upload the rest to Pinterest, linking them back to my articles.
I have a few different templates that I created myself and use at different times, although I try to keep a consistent look and the same colors so that people can easily recognize my pins in their feed.
Make sure the pins you create are long and vertical and the text overlay is easy to read. If you’re using photos on the background of your pins (like this pin) be sure to only use free stock photos. You can grab my list of 30 websites where I go to get pictures for my graphics below:
Add all the pins you create to your anchor board and click on “Edit” to insert the link where you want people to be lead once they click and a description for the pin that will improve its chances of being found in search results.
💎 STEP 5: Create a Pinterest strategy
Now you have everything in place and you just have to follow step 4 every time you write a new blog post. While your pins may be found simply because you did a good job at inserting keywords in the right places, you also want to make sure you give them a little boost from now and then and you put them in front of people that will potentially repin them.
To make the process easier, you need to create a Pinterest strategy that works for your content and your account.
Mine looks something like this: I schedule around 60-70 pins a day using Tailwind, I repin my pins consistently in group boards, I follow other in my niche and I use Tailwind tribes from time to time.
It’s extremely important to be active on Pinterest and repin other people’s content but it’s just as important to circulate your own pins to reach your existing and future followers.
You need to decide if you have the time daily to do this manually or if investing in a scheduler is a better solution. I took the free trial that Tailwind offers (get your 100 pins for free here) and I haven’t looked back since. Everything is now automated and I only spend a few hours each month curating content for weeks ahead.
Read my post on how I use Tailwind to automate my Pinterest here.
There is a lot of experimentation that will go into your Pinterest strategy, so don’t be afraid to mix things up. Just keep an eye on your analytics and keep doing what works!
Why Should You Invest In Your Pinterest Education?
A lot of people go through the first 4 steps and get stuck when it comes to creating a strategy that works. I’ve been there! It took me a few good months to understand how everything goes and before I saw any read traffic coming from Pinterest.
Now I have over 40,000 followers and Pinterest is my main traffic source. I get emails all the time from people that discovered me through Pinterest and I even monetize my account using affiliate marketing.
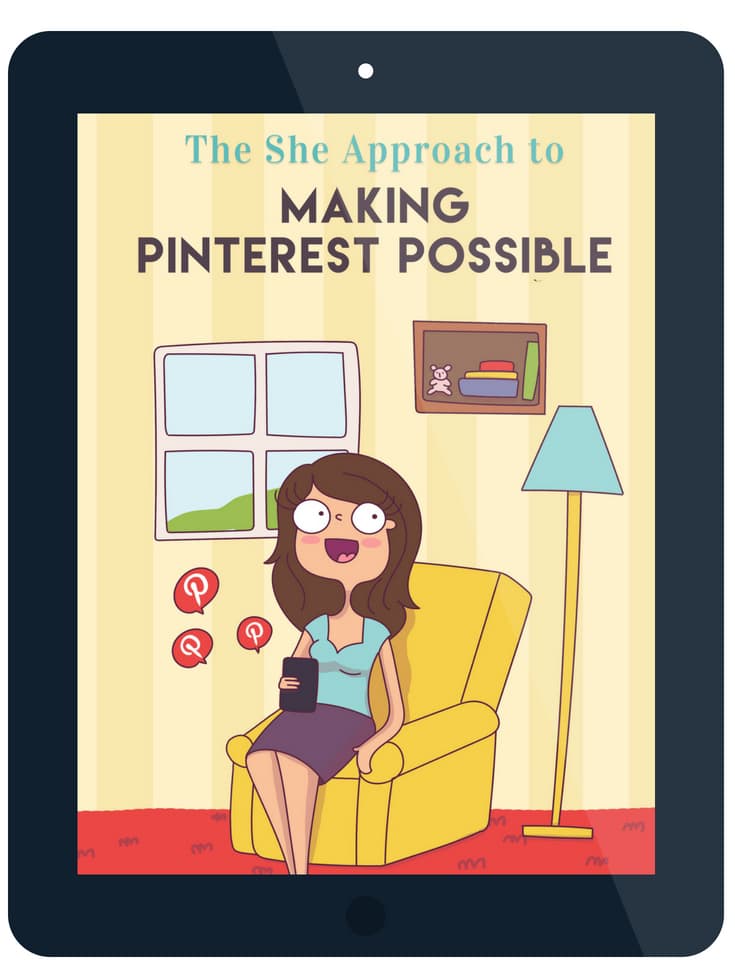
And I explain how I did it in my bestselling eBook “Making Pinterest Possible“.
Grab it for $5 off by using the code “TSA5OFF”.

If you don’t want to spend the next few months in trial and error, I highly recommend checking out my eBook (or investing in a Pinterest course). I’ve already researched what works and what doesn’t, so you can take action and get quicker results with your account!
Not only will that polish any mistakes that you might be making with your Pinterest account, but it will help you form a bulletproof strategy!
More than your regular Pinterest course for beginners that just teaches you how to get started with Pinterest,Making Pinterest Possible goes in-depth into the strategies that are exactly what you need to take your Pinterest game to the next level (strategies that no one else is sharing for free).
I am confident that taking a course and using Pinterest the right way can skyrocket your page views and your income, and I am proof of that. So what are you waiting for? Aren’t you ready to finally figure out Pinterest?
I’m just getting the hang of Pinterest so this is really handy to learn more. I never knew you could schedule pins, I’ll definitely have to look into that xx
Hannah | luxuryblush
So glad this was helpful!
Just love your post. I really need to get craking with this Pinterest, tired of seeing my blog only get 5-14views a day!!! 😞
You got this! Pinterest is a long-term game but it’s so worth it!
Thanks for the very well informed post. I’ve been pinning about a month now and get about 25 pins per day. Is it just a slow beast that grows over time?
It is! Play around with the number of pins to find the sweet spot, and focus on adding new pins for now.
Thank you so much for this post! I’m super new to pinterest and I had no clue on how to get any new visitors though it, but I’m gonna give it another go!
xxx Nele | http://www.thenaivgatio.com
Hope this was helpful! x
Congratulations! My name is Makenzie and I have nominated you for the Blogger Recognition Award! You can find out more information about accepting the award and reading about the rules at http://www.justmyunscriptedlife.com/blogger-recognition-award/
Thank you so much! So kind of you.
Thanks for this Ana!
For a new blog, should you wait till you have a good number of posts before using Pinterest?
Focus on contents first? Or balance the 2?
You want to build your account and boards a little. But the sooner you start uploading your own pins (even if you only manage to create 2-3 graphics per week for now), the quicker you’re going to see traffic from Pinterest. So balance the two!
Your post is a short guide but it still offers a wealth of information for getting started with Pinterest. This post and your Pinterest ebook is the reason why I’m doing so well on Pnterest as a new blogger. I’ve been getting a lot of traffic from Pinterest using the tips you mentioned, so I know a lot of new bloggers will find this post very helpful. Thank you for taking the time to write it.
Thank you so much, lovely! The post is also due an update, but Pinterest is very much still very relevant to bloggers.